


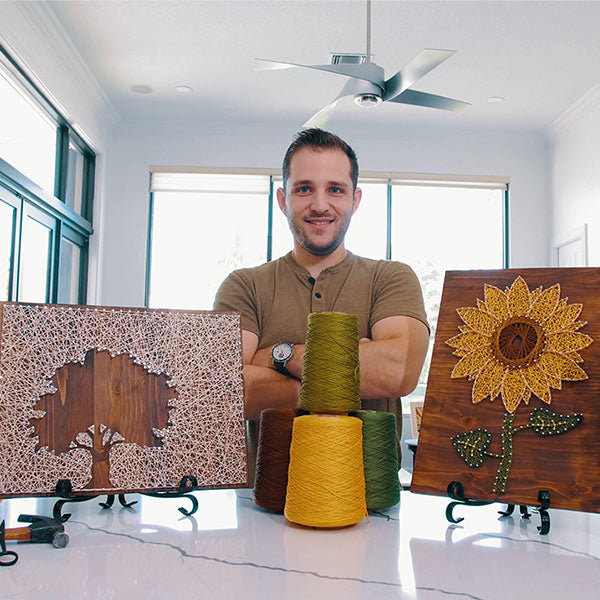


Hey there, string artists! Are you ready to embark on a colorful journey into the world of string art? Before you can create your first masterpiece, you need to gather your supplies. Everything below can be picked up from your local craft store and hardware store. Let's explore the essential and optional materials you'll need to start your string art adventure!
Materials For String Art
-
Wooden board
-
String
-
Wire Nails
-
Hammer
-
Pattern Template
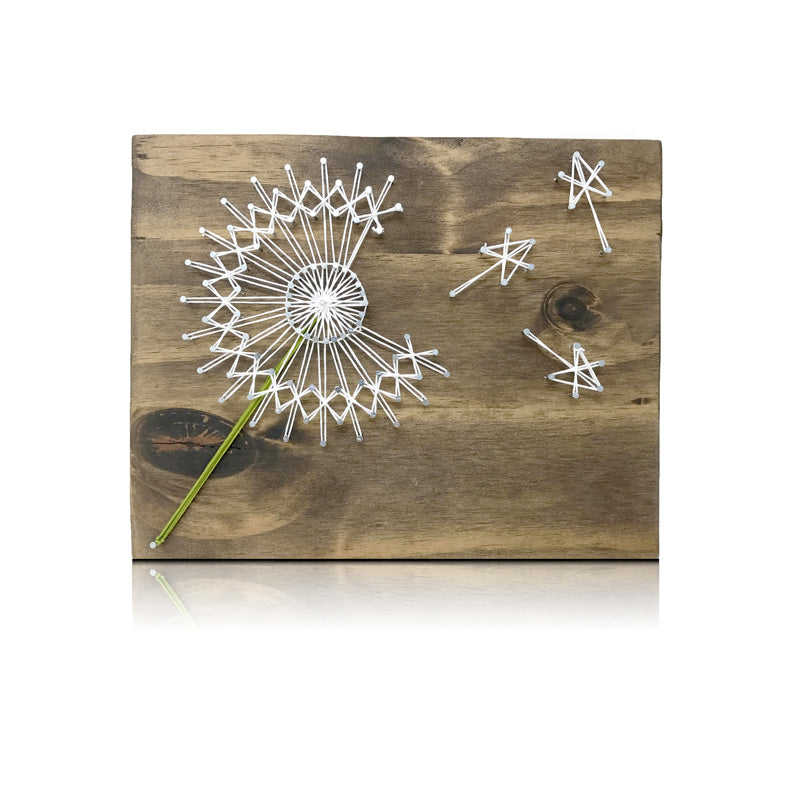
The Foundation: A Wooden Board
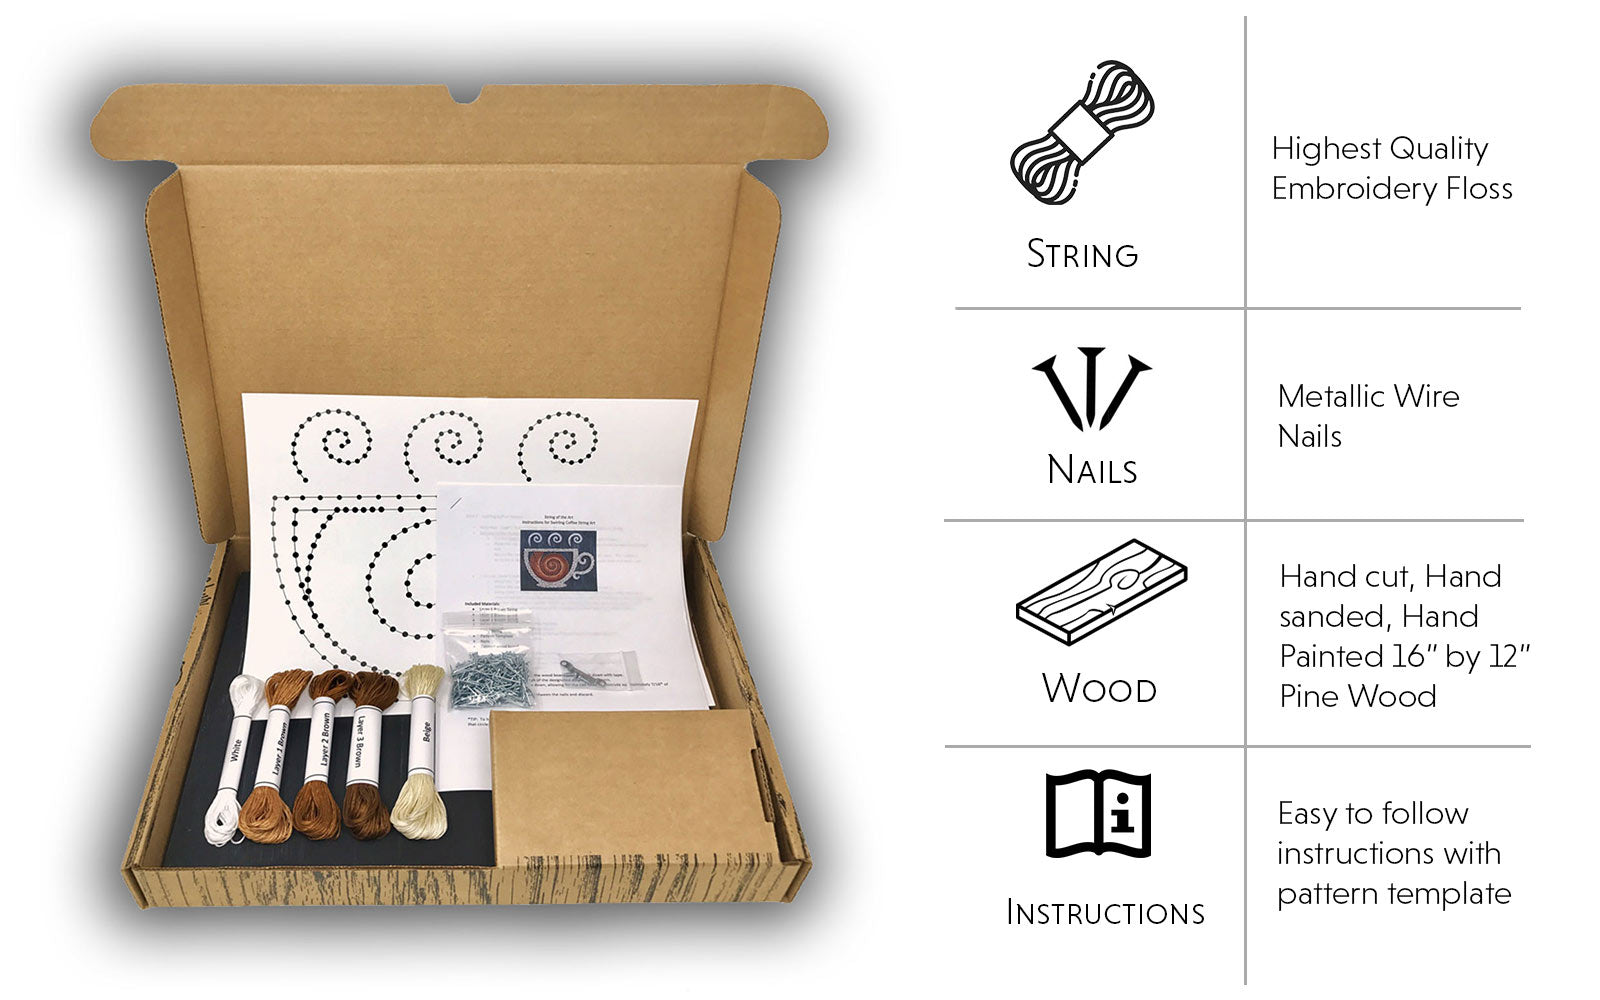
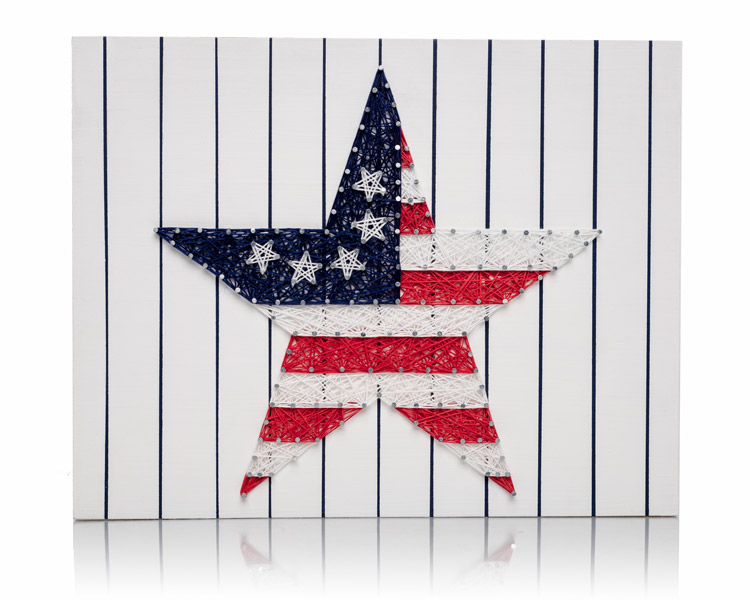
First things first, you need a stage for your art. A wooden board acts as the canvas for your string art creations. It must be wood so the nails can stay into. We recommend using a pine wood board because it is a soft wood, easy for hammering nails.
You can choose any size you like, depending on the design you're planning to create. Smaller boards are great for beginners if you want to make a cute, little piece to decorate your desk. Larger boards are perfect for more detailed designs or if you're aiming to make a statement piece for your wall.
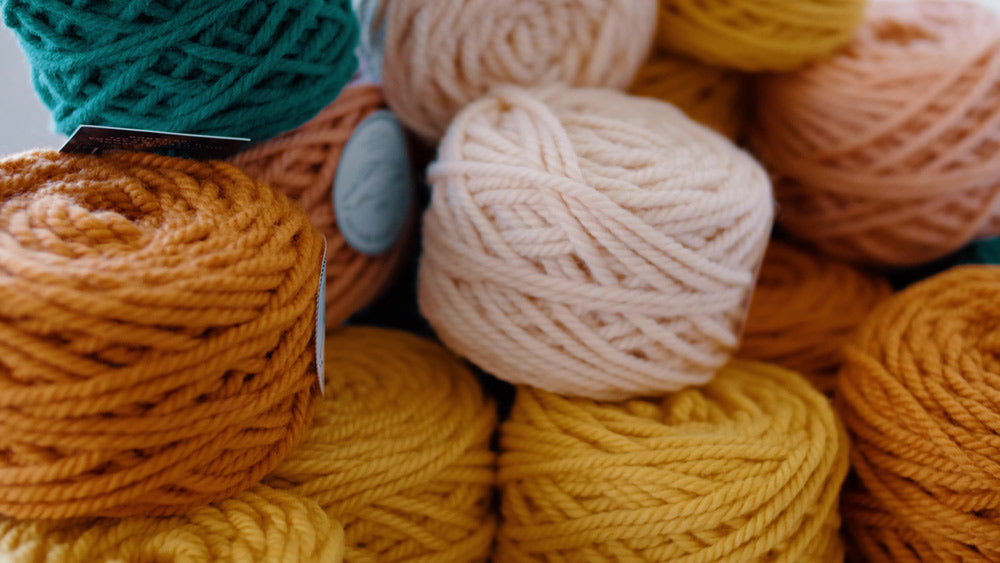
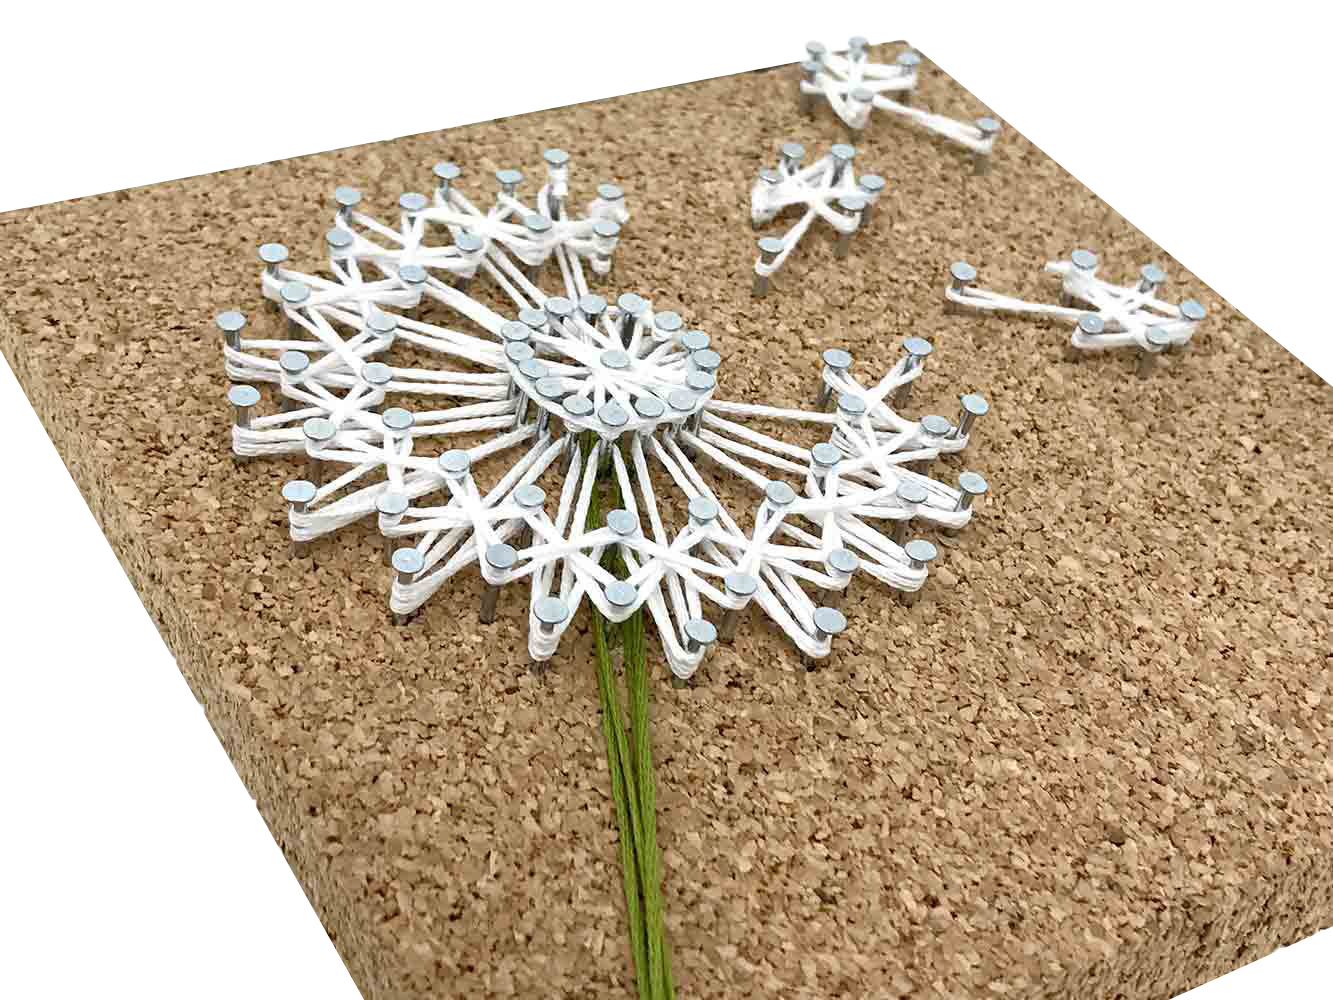
The Star of the Show: String
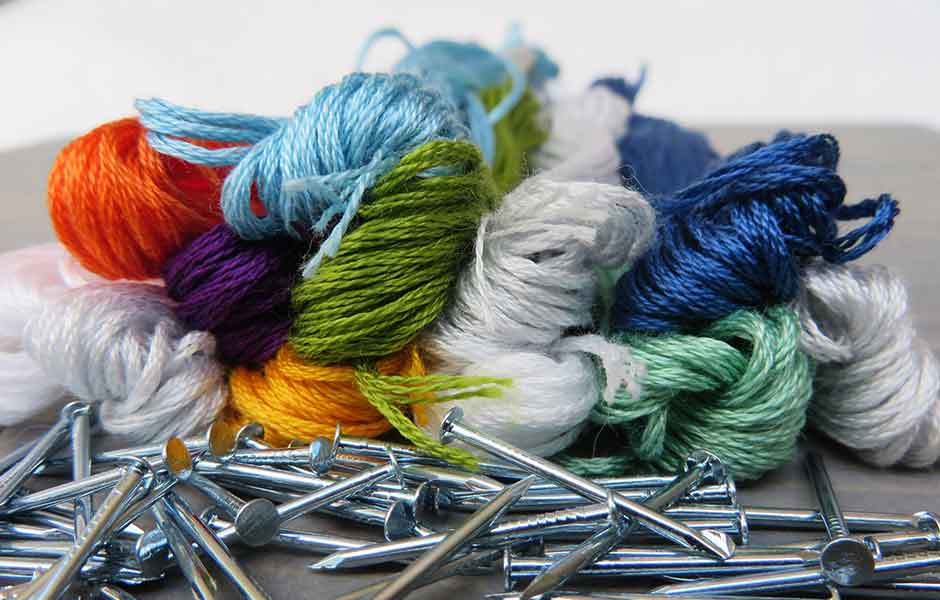
String is the heart and soul of your string art project. There's nearly an endless amount of string options you can choose from. We recommend embroidery floss because of its thickness, strength, and variety of colors.
Other string options include different types of yarn and even wire.
Colors? The sky's the limit! Go wild with vibrant hues, stick to a monochromatic scheme, or play with shades and tints to bring depth to your design. The thickness of the string can also add texture to your artwork, so feel free to experiment.
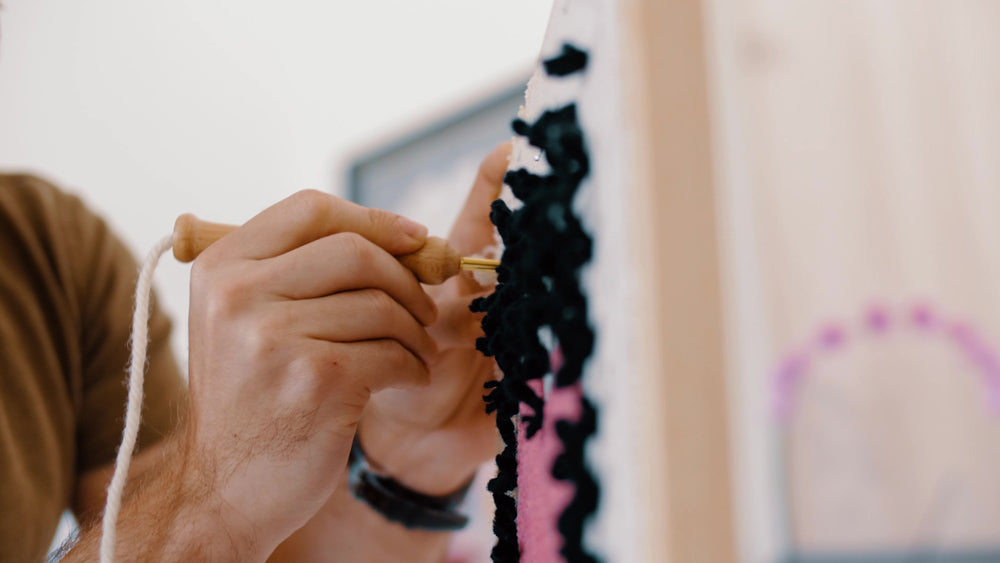
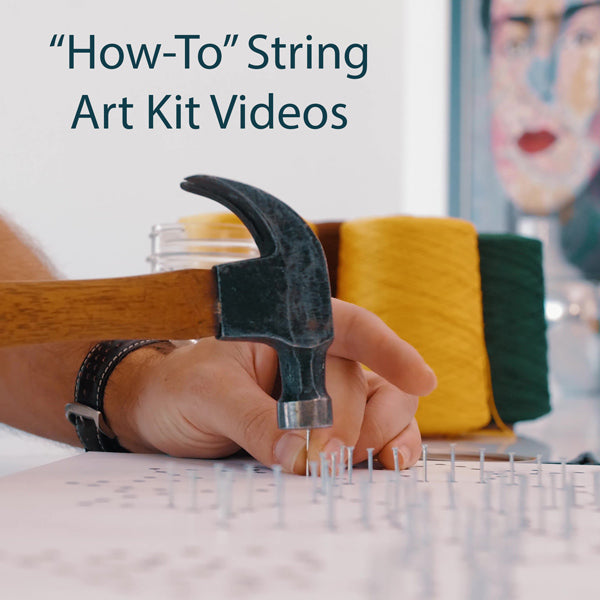
Holding It All Together: Wire Nails
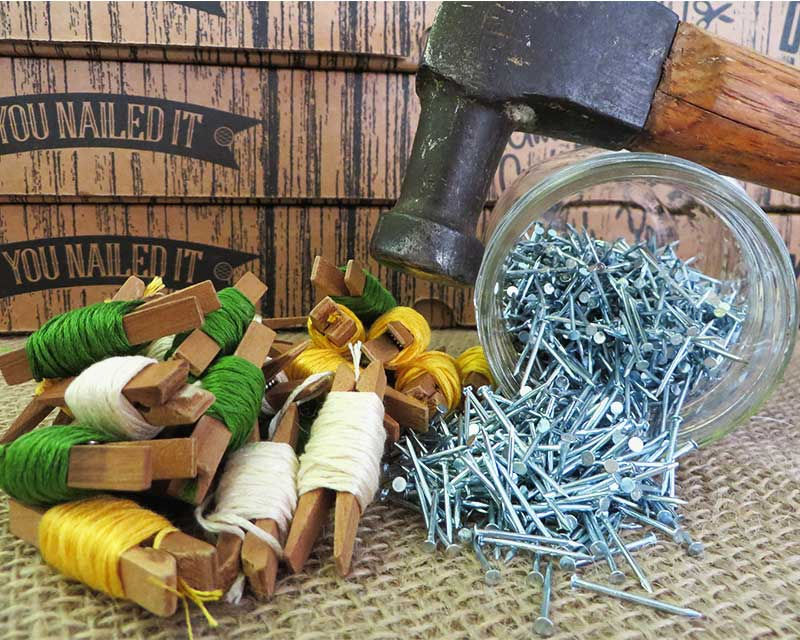
Wire nails will be your tiny but mighty heroes, holding the string in place and shaping your design. Pick out short nails (from 3/5th of an inch to 1.25 inch long) with a flat head. This size is perfect for most projects, ensuring your nails are long enough to secure the string while keeping the focus on your design, not the nails themselves.
The Tool of the Trade: Hammer
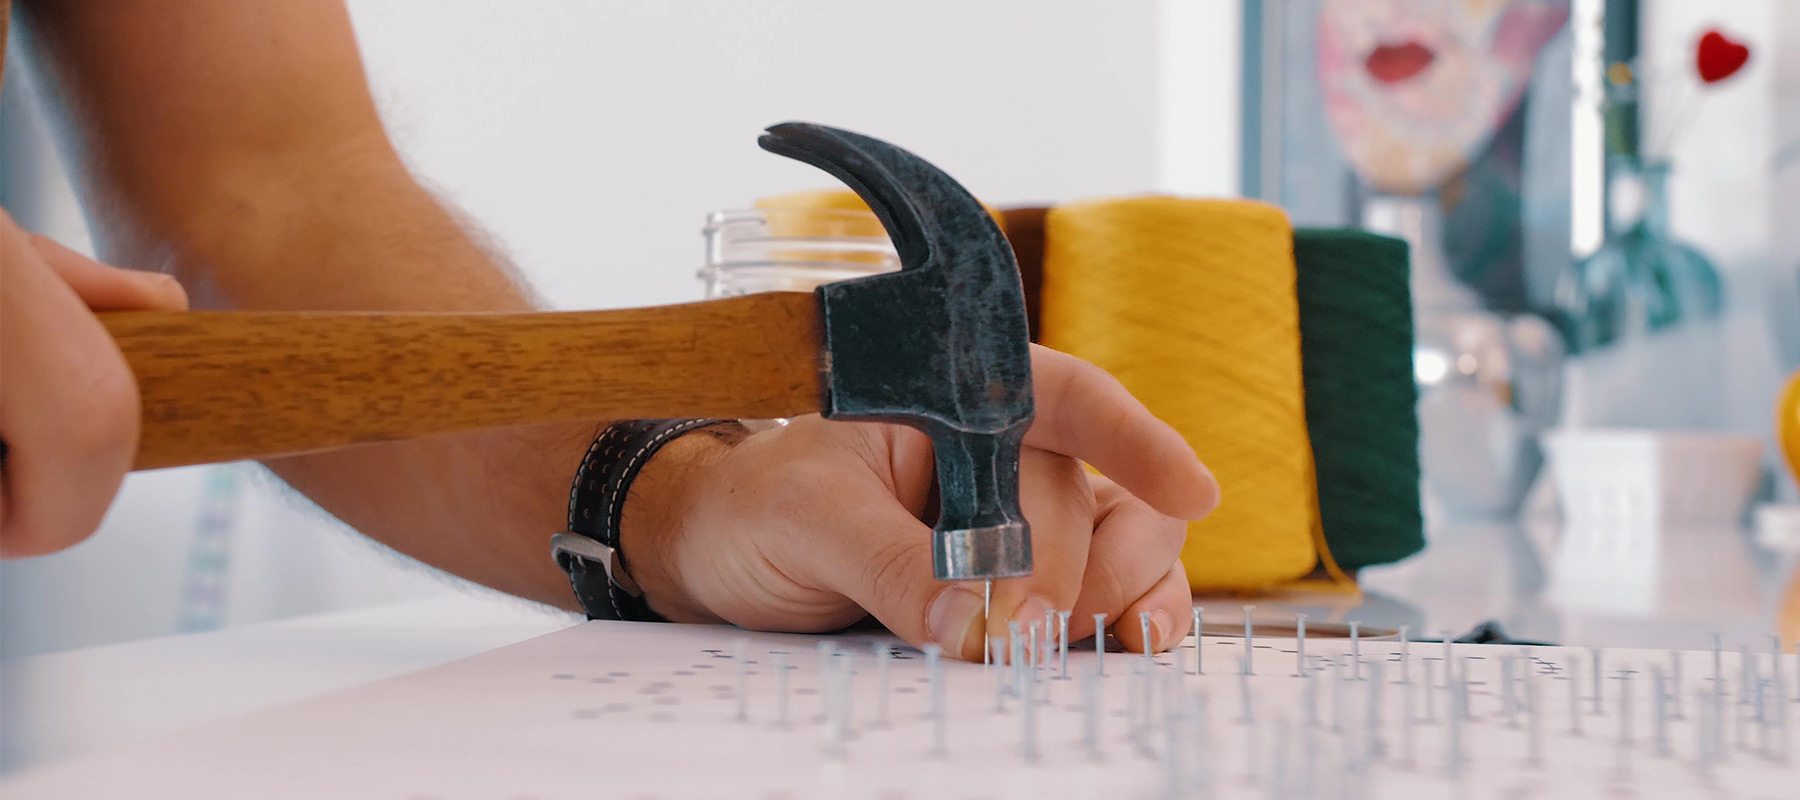
You'll need a hammer to gently tap those wire nails into your wooden board. A small or lightweight hammer works best, especially for beginners. It gives you more control and precision, reducing the risk of hammering the nails in crooked, damaging your board, or striking your fingers.
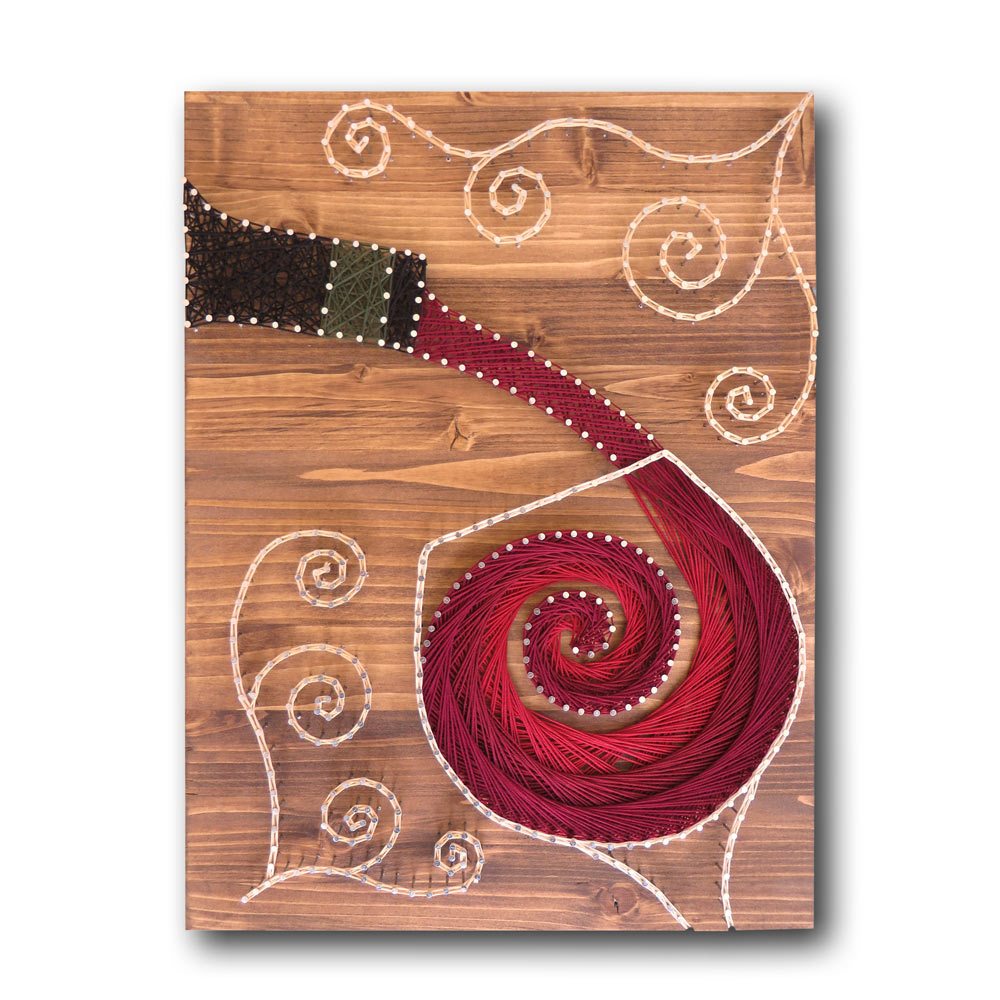
Bringing Your Vision to Life: Pattern Template
A pattern template is your roadmap to creating stunning string art. You can find templates online for free or you can purchase them.
If you want to be creative, you can make the pattern template on your own. On your computer, find your favorite image or phrase. Then using a computer software program like Photoshop, place small round circles around the design, marking where you will hammer in the nails. Print it out and you've got yourself a string art pattern template!
The template will guide you on where to place your nails, ensuring your design takes shape just the way you envisioned it. Simply tape your template onto the wooden board, and you're ready to start nailing.
Optional Materials for Extra Flair
While the above materials are your string art essentials, these optional items can take your project to the next level:
Smooth Moves: Sander
If you want your wooden board to be as smooth as silk, a power sander is your best friend. Sanding the board before you begin your project can help prevent splinters and ensure a clean, polished look. Plus, it makes the board more receptive to stains or paint.
If you choose to sand your wood, make sure to where a face mask. We highly recommend wearing a face mask that includes a respirator. Not the N95s commonly seen during COVID, but a mask with two respirators that used for painting.
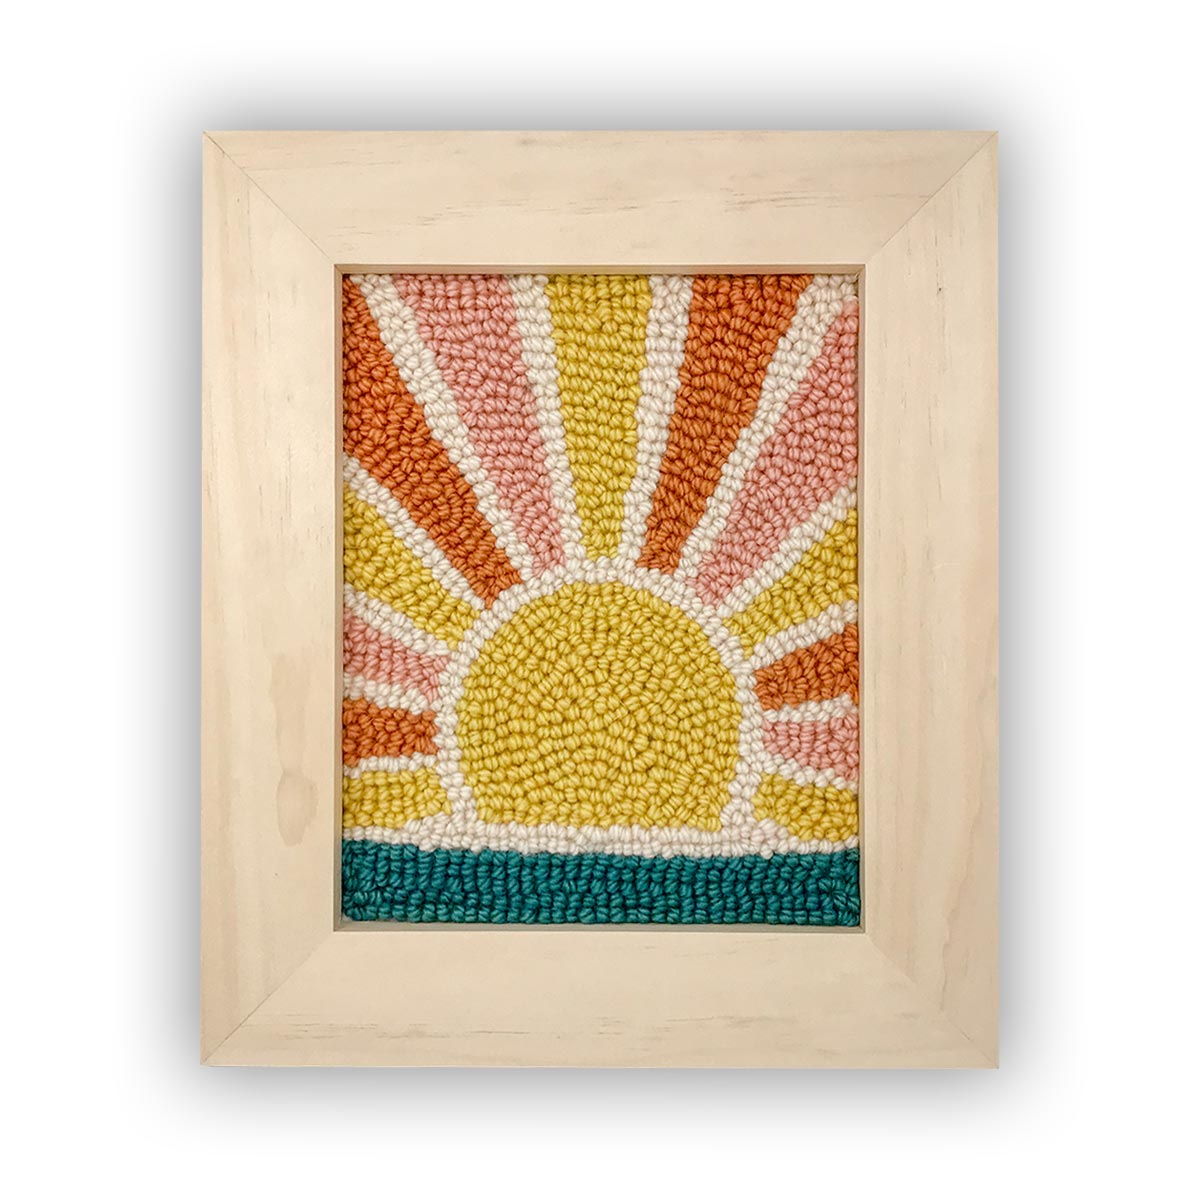
Add Some Color: Stain or Paint
Speaking of adding color, stains and paints can transform your wooden board into a colorful backdrop for your string art. Choose a stain for a rustic, natural look, or go bold with acrylic paints. The color of your board can complement or contrast with your string, creating eye-catching effects.
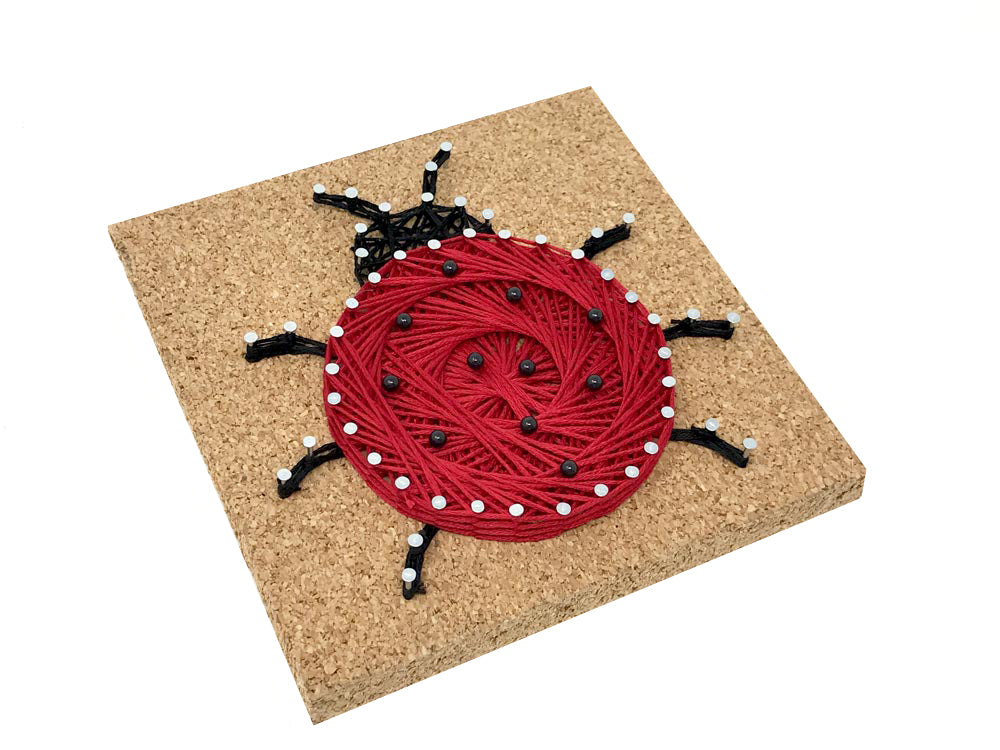
Alternative Canvas: Corkboard
Not keen on using a wooden board? No problem! Corkboard is a fantastic alternative. It's easy to push pins and nails into, and it can give your projects a unique texture. You won't have to use a hammer.
Pin It Down: Pins
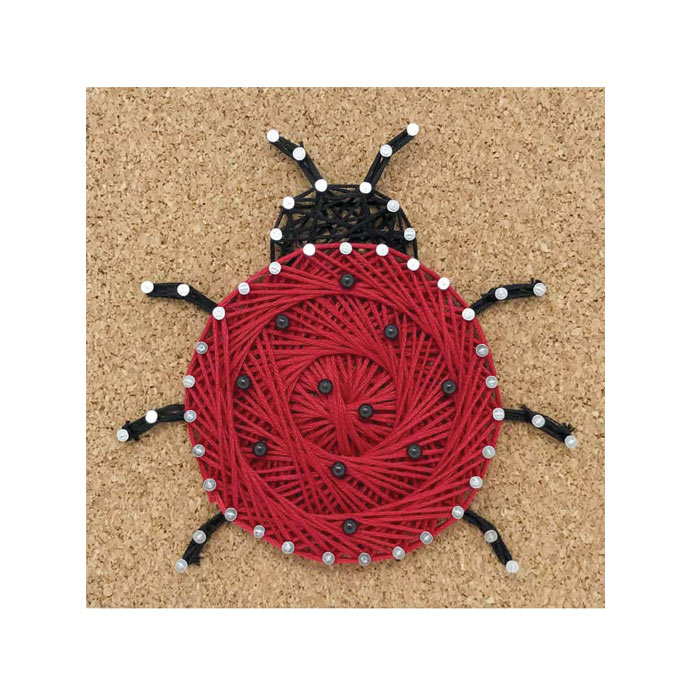
For those who prefer working with a corkboard or want a less permanent option, pins can be used instead of nails. They're easy to insert and remove, making them perfect for experimenting with designs or for temporary projects.
Yarn for Days: Yarn
Looking for a thicker, cozier medium for your string art? Yarn is a wonderful option. It comes in various weights and textures, allowing you to add dimension and warmth to your creations. Just keep in mind that thicker yarn might require larger gaps between nails or pins.
Let's Get Crafting!
Now that you've gathered your materials, it's time to let your imagination run wild. String art is a flexible craft, offering endless possibilities for creativity. Whether you're making a simple geometric pattern or an intricate landscape, the joy of seeing your design come to life is unmatched.
Tips for Success
-
Take your time planning your design and choosing your materials. A little prep work goes a long way in ensuring your project turns out just right.
-
Don't be afraid to make mistakes. String art is very forgiving. If you don't like how a section looks, simply unwind the string and try again.
-
Experiment with different techniques, such as varying the tension of the string or layering colors, to add depth and interest to your artwork.
Share Your Creations
We'd love to see what amazing designs you come up with! Share your string art projects with us at our Instagram page StringOfTheArt. Your artwork might just inspire someone else to start their string art journey.
Embark on Your String Art Adventure
With your materials ready and creativity at the helm, you're all set to dive into the wonderful world of string art. Remember, the most important part of this craft is to have fun and enjoy the process. So grab your hammer, choose your string, and start creating something beautiful today. Happy crafting!